Today I'm sharing a tutorial for these classic Maple Leaf quilt blocks!
Before we get started, I want to let you know that there's a free printable version of these instructions available here. I've included two sizes for you, a 9 1/2" block and a 12 1/2" block.
Want to see what you can make with these blocks? Be sure to scroll to the end to see the quilt I made using the 12.5" blocks.
For this example I'll be using a single print to make one block but these Maple Leaf blocks are also really fun as a scrappy block. So pull out those scraps and give it a try!Here's what you'll need for one 12.5" x 12.5" block
- 4 print squares, 4.5" x 4.5"
- 2 print squares, 5" x 5"
- 2 background squares, 5" x 5"
- 1 background square, 4.5" x 4.5"
- 2 background squares, 4" x 4"
Step 1: With a pencil, draw a diagonal line on the wrong side of the two 5" and the two 4" background squares.
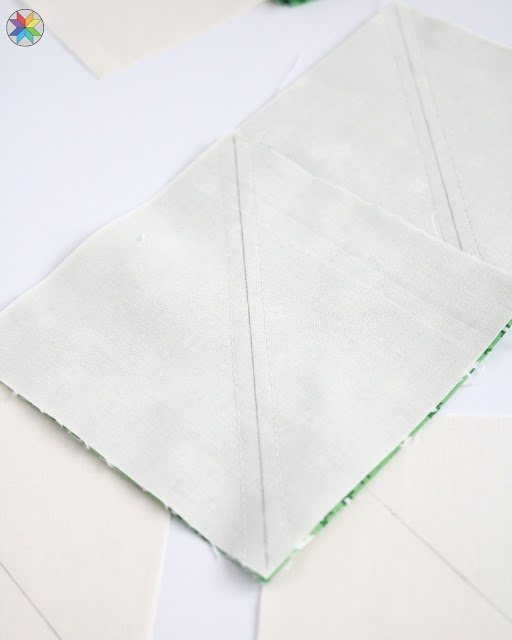
Step 2: Place a 5" background square right sides together with a 5" print square. Sew 1/4" from each side of the drawn line.
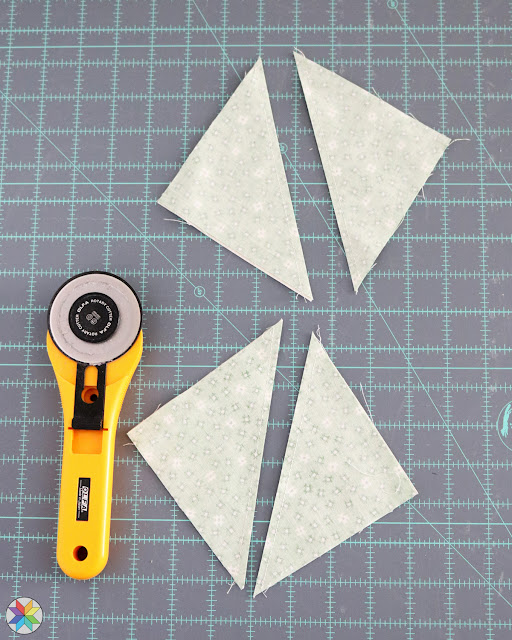
Step 3: Cut along the drawn line.
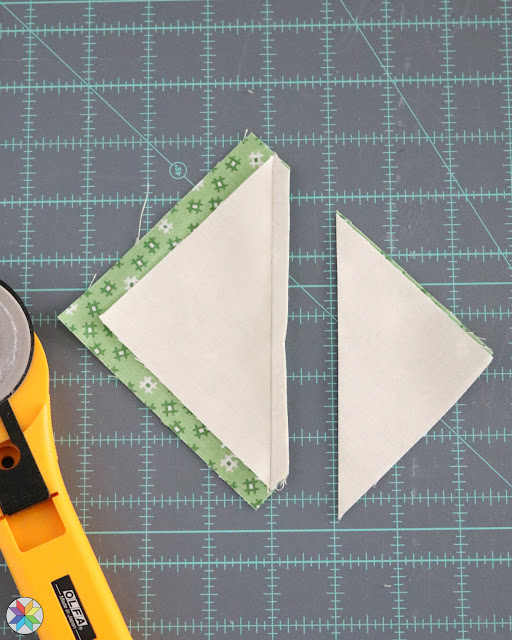
Step 4: Open half square triangle and press seam toward the print fabric.
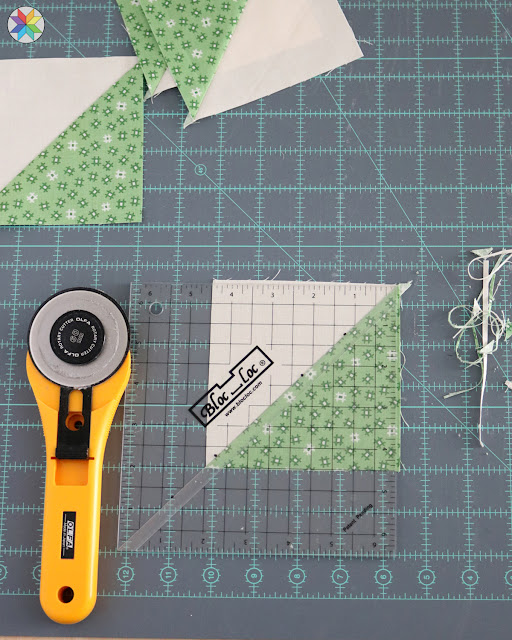
Step 5: Then trim the half square triangle (HST) to be 4.5" square.
I like to use this Bloc Loc ruler, but any square ruler will work.
Repeat steps 2-5 to make four total half square triangles.
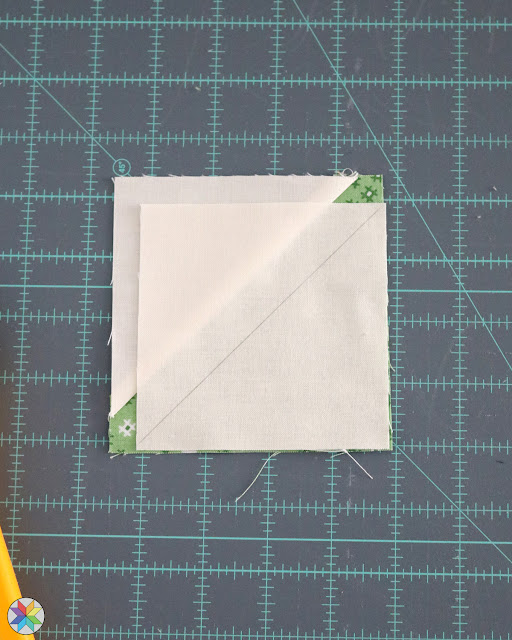
Step 6: To make the stem unit, place a marked 4" background square right sides together on one corner of a 4.5" print square. Stitch on the drawn line.
Step 7: Trim seam allowance to 1/4", then open the corner and press.
Step 8: Repeat to sew the second 4" marked background square to the opposite corner of the 4.5" print square.
Step 9: Trim seam allowance to 1/4".
Step 10: Open the corner and press.
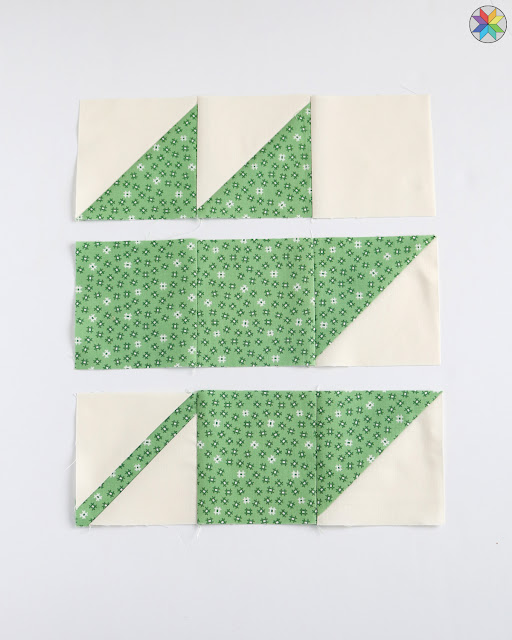
Step 11: Arrange the block pieces as shown, using four half square triangles, one 4.5" background square, three 4.5" print squares and the stem unit.
Be sure the points of your leaf (the HSTs) are pointed in the right direction.
Step 12: Sew into rows, then press seams of row 1 to the right, row 2 to the left, and row 3 to the right. This will help your seams nest together when joining rows.
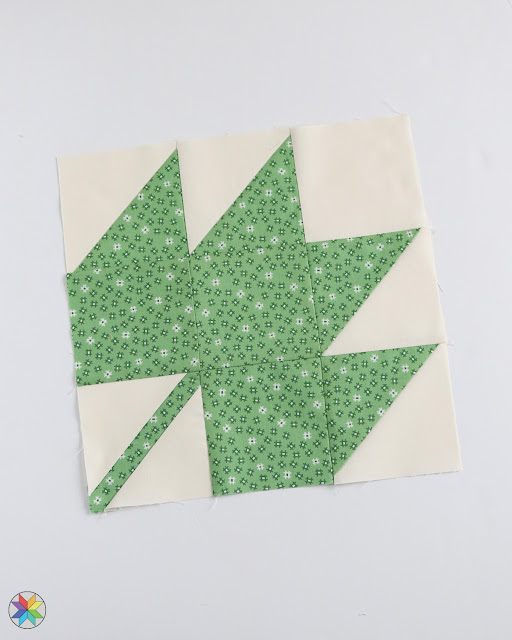
Step 13: Join rows, matching seams and pinning at seam intersections.
Your Maple Leaf quilt block is finished! The block should measure 12.5" x 12.5" and will be 12" square in the finished quilt.
Be sure to get your printable copy of the instructions here, which includes both the 12.5" and a 9.5" block.
Wondering what you can make with these blocks?
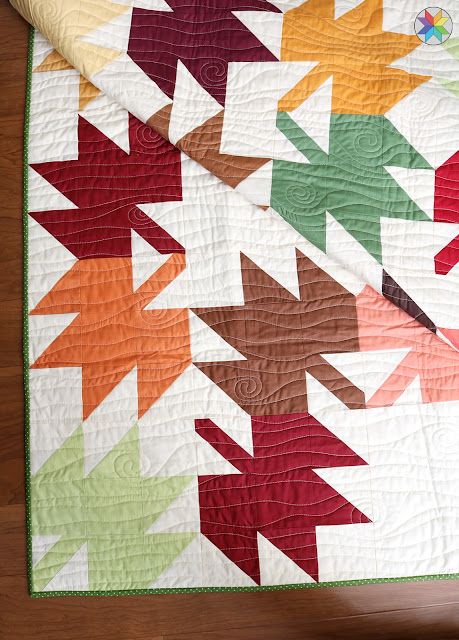
I used a stack of fall colored Confetti Cotton Solids (Riley Blake) to make this throw size quilt. I made 25 blocks and created some open space between the leaves by just cutting some 12.5" squares from the same background fabric.
For the quilting I free motion quilted it and I was aiming for a wood grain look combined with a swirly, windy look. It's hard to explain the look I was going for but I feel like it worked out well in the end!
Don't forget to get your printable copy of the Maple Leaf quilt block pattern here.









Thank you so much for the free download. I absolutely love the leaves and it has been a quilt I've wanted to make for years. Hopefully now I will finally do it. Kimberly
ReplyDeleteDo you sell Fat Quarters
ReplyDelete